For this edition of Crash Course, we reached out to one of our favorite photographers to offer some helpful advice on how to take some gorgeous photos, perfect your lighting skills, and build an impresisve portfolio.
Manuel Alejandro Mosquera Reyes mainly stands out as an audiovisual producer. He has a long experience as a video producer with models, corporate videos, event coverage, short films, interviews and video production for the immersion of users with virtual reality, product advertising photographer and community manager. He's also worked with Pornhub and photographed some of our top models, so we thought he was perfect for the task. So if you're interested in improving your photography skills, keep on reading and see what Manuel has to say about lighting, gear, and how to get started.
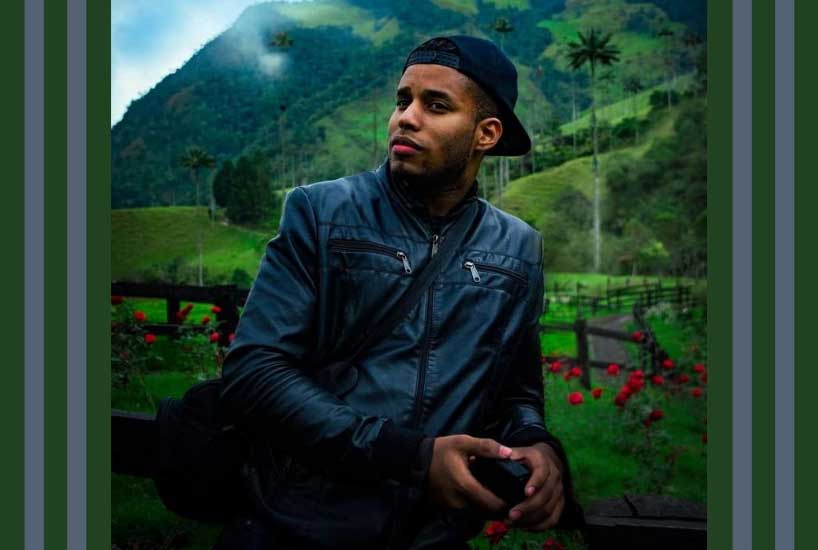
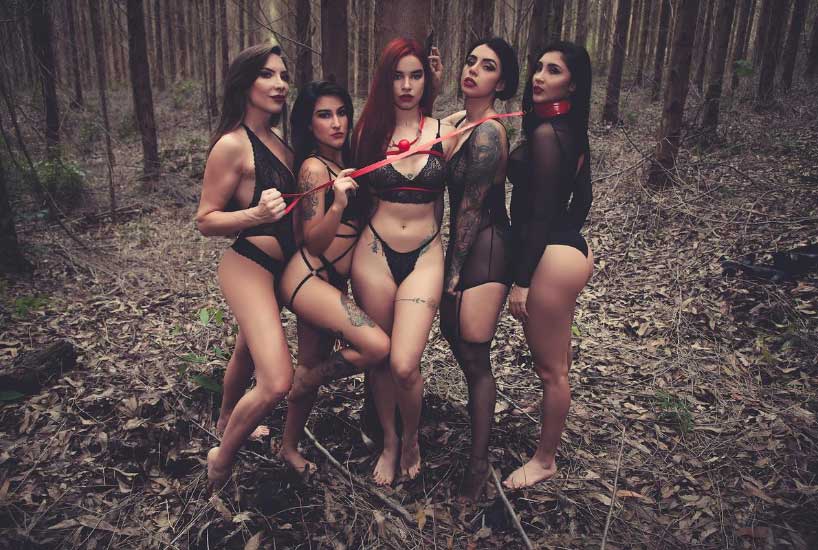
Courtesy of Manuel Alejandro Mosquera Reyes
What sort of lighting should one use when natural light isn't possible?
Lighting is one of the biggest challenges we face when we want to take a good picture; without light there is no good picture. You must know how to handle it since it is essential.
Natural light is that which you cannot control thanks to all its qualities, this is because its main source is the sun, the moon or the stars. When it comes to these natural light sources, you cannot modify or adjust their intensity, direction, quality or color.
It is clear that natural light gives better color to your skin, but in case it is not possible to use it, we recommend the use of artificial light such as a light ring, light box or a led panel.
Light rings: The most used by social media influencers, makeup artists, models and people who love to post good quality photos on their networks, since it can be easily attached to cameras to take selfies with perfect lighting. And fortunately, it can also be very useful with videos.
There are a variety of sizes to pick from, and if you can find one that offers both white light (cold) and yellow light (warm), even better. Yellow light it great for darker skin tones and also helps lighter skin tones from looking pale on camera.
Light boxes: Light boxes are often used because it generates a soft light that, when correctly directed, decreases the shadows and highlights the natural lines of the person in front of the camera. The equipment consists of a cold lamp, attached to a box, lined with shiny paper inside, and can be reproduced with items you have at home, like a shoe box, for example. There are several tutorials online that teach you how to make your own light box.
LED panel: LED panels are structures very similar to a luminaire and can be used in various environments. They are composed of several small lamps that, together, form a luminous structure of varied sizes.
Generally, it is not necessary to connect the panel to a socket, since most of them work with batteries. In addition, LED panels usually have a long service life, which makes the maintenance low value.
TIP: Never use light bulbs like the ones we use at home, they are not for photos or videos.
How should you use natural lighting properly?
Natural light can be your best ally or your worst enemy. If you learn to use this light correctly, the results will speak for themselves, but if not, no editing can save your photos from poor lighting, which is why we will explain some aspects to take into account to make natural light your perfect ally when it comes to getting a good picture:
Quality: Have you ever heard photographers describe light as soft or hard? In that case, they are referring to the quality of the light and the illumination it provides. Direct light is strong and creates a high contrast in your image. This type of light is not always the most common choice for portraits where many photographers simply try to emphasize the beauty of the model. However, it is a common choice for a bold and exceptional landscape. On the other hand, diffused light (like light passing through clouds on cloudy days) is softer and reduces or eliminates shadows.
Intensity: Although it may seem to us that this is a factor we cannot control when talking about natural light, we can always make use of resources to do so. For example, using a reflector (an element that allows us to add more light to eliminate shadows by taking advantage of the reflection of natural light) to increase the intensity or, on the contrary, look for something that reduces the level of light (for example, curtains indoors or an element that provides shade outdoors like trees).
Direction: The direction of the light will always depend on three main factors: The position of the light source, the position of the motif to be photographed, and the position of the observer, in this case, the camera. Based on this, we must take into account that to analyze this direction, we must always do it from the camera's point of view.
Courtesy of Manuel Alejandro Mosquera Reyes (photo of martinasmith1 and delettraa)
Tips to Master Natural Light
1. Keep in mind specific points such as not taking pictures of you with the sun shining too brightly on your face since this could generate certain shadows that will not make you look good, for example, it could cast shadows under your eyes like dark circles.
2. Keep in mind that the sun will not stay still, besides the clouds playing with the light, you must be prepared and take several photos since only two seconds are enough for the perfect light to disappear.
3. Play with the shadows of objects, for example, if the light comes in through a window, the shadow of a tree branch, or if the sun is behind you, you could take advantage of it to highlight your silhouette with a great pose.
4. Prepare the necessary materials like filters, diffusers, reflectors, etc. Just because you don't use artificial light doesn't mean you can't use these accessories.
5. Photograph from different angles this way you can check the effects of the light on your subject and choose which one you like best.
6. Plan your activity according to the light since light changes throughout the day. Think about the effect you want to achieve and organize your schedule for your session at the ideal time.
7. If you are in an interior location, look for a window, a door, or anything that allows light from the outside to pass through.Try to put all these tips into practice and you will see the excellent results that natural light can offer.
Is there a proper way of taking photos at night?
If you don't have good lighting, a good phone or camera, don't expect a perfect result. However, you can play with your imagination and with a little help from technology such as the famous filters, it's a great trick to disguise low quality of the photo, for example, a vintage type filter. If you have an iPhone, Xiaomi, Samsung, etc., they are now incorporating night mode, which helps improve the photo's lighting. On the other hand, if you’ve dabbled in photography, the same phones have a PRO mode, which lets you handle values like ISO, exposure time and aperture. Try not to zoom. Although high-end smartphones already have high magnification zoom without losing image quality, it's better not to use it for a night shot because you could lose a lot of sharpness. Stabilize your image well. It’s already difficult taking a night photo, so not stabilizing your phone will make it worse. If you are going to take a picture, make sure your smartphone is completely still. Use a tripod or something you can hold it with. If you want to be in the picture and there's no one to help you, then use the timer.
Courtesy of Manuel Alejandro Mosquera Reyes (photo of mythicalegend, madeleinemorales, martinasmith1 and delettraa)
If someone wanted to invest in a good camera for the first time, what would you suggest? What kind of lens do you think they should have?
Companies like Nikon and Canon have cameras that range from $250 to $9,000. If you are just starting out in the beautiful world of photography, you could start with an interchangeable lens reflex; they are economical and very good in good lighting conditions.
However, if you know something about photography, you could acquire a full frame, in low-light conditions; it can help give a little more light to the photos since its internal system (sensor) is bigger than that of the reflex.
With lenses, you can start with 35mm - 50mm or 85mm lenses, they are excellent lenses for face, half-body, or full-body photos. Lenses are a matter of learning little by little, since some can cost much more than the camera.
Remember, the camera doesn't take pretty pictures, you are the one who shoots, so read your camera's manual and look for videos on YouTube on how to use it. People will tell you, "What a nice picture your camera takes," but that's because you know how to use it.
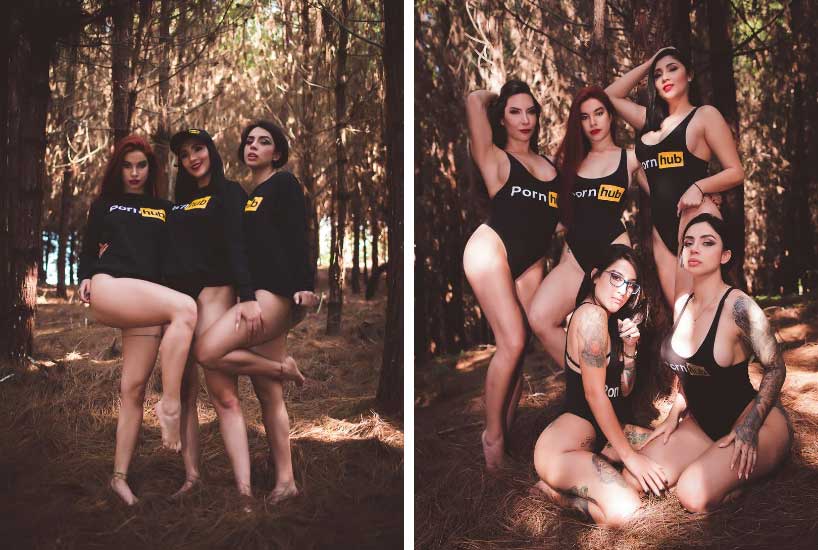
Courtesy of Manuel Alejandro Mosquera Reyes (photo of mythicalegend, madeleinemorales, martinasmith1 and delettraa)
What photography gear is an absolute must?
For models who have no experience on the subject, their photography gear is their cell phone; that’s their main tool.
Models usually use high-end phones such as iPhone, Xiaomi high end, Huawei with Leica cameras, Samsung of the S range. These phones have very good cameras; just learn to handle them in their manual mode and pro-mode feature.
If you want to start experimenting with more professional photography, you should have a camera as mentioned before, a reflex or full frame. I also recommend using at least two LED rings, color LED tubes, and a tripod.
TIP: Don't use the cell phone flash because it will illuminate the person in front of the camera but the background will be dark.
Can you explain the rule of thirds?
The rule of thirds in photography or video is very important since it’s used to divide the screen of your cell phone or camera in a 3x3 grid.
This grid helps the photographer better locate the person or landscape to be photographed so the viewer can focus his or her attention on that landscape or person.
Normally, we take pictures by placing the person in the middle of the picture, but if you look at more elaborate pictures, you will see that the photographer places the model to the side in some case
Many cameras on phones have the option to activate this grid, but in case you don't have it in yours, just imagine it so you can better frame your photos.
The rule of thirds is the most basic one, but there are others a bit more complex and elaborate that are often used in cinema, like geometrical shapes that give a better perspective and make it more dynamic.
Be sure to follow Manuel Alejandro Mosquera Reyes on Instagram @manu314lejandro
Comments